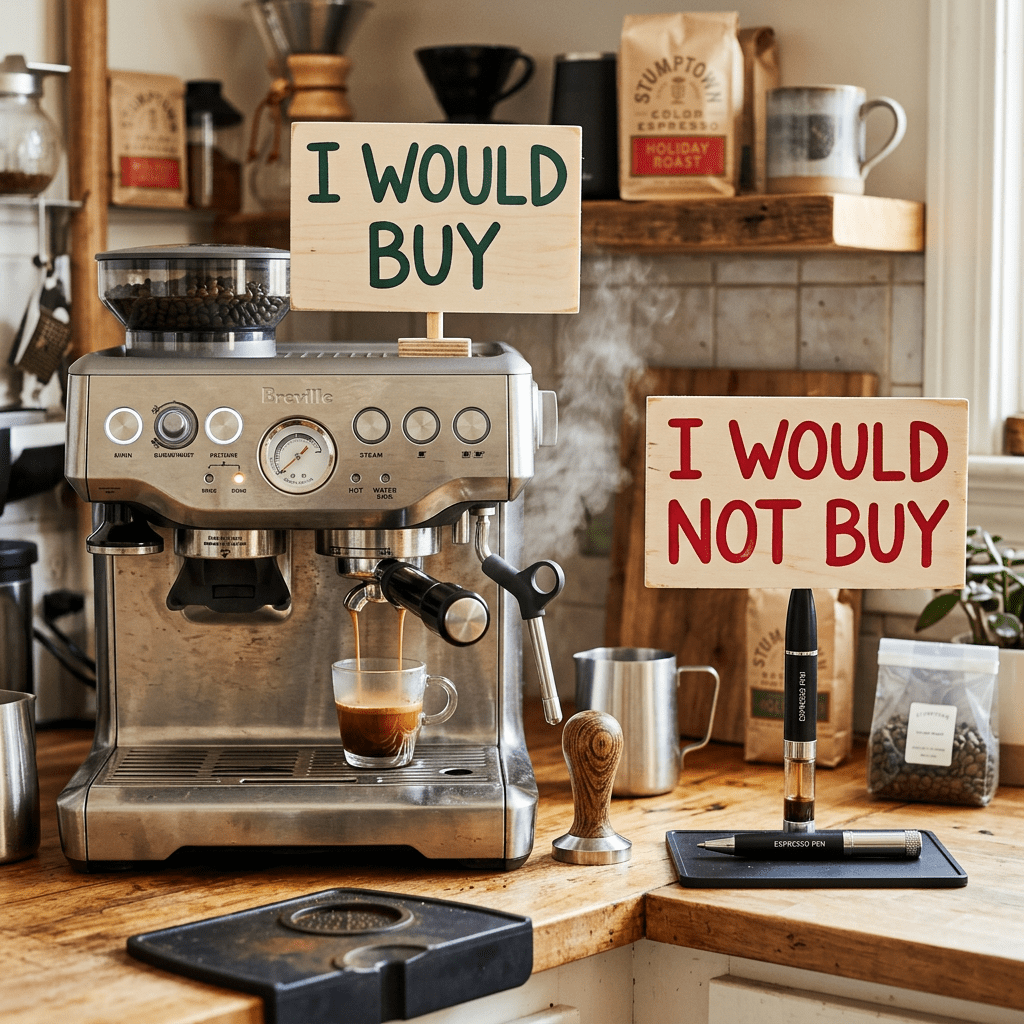
If I had to rebuild my entire home coffee setup from scratch tomorrow, these are the products I’d spend my money on first.
Disclosure: This post contains affiliate links. As an Amazon Associate, I earn from qualifying purchases. If you purchase through one of my links, I may earn a small commission at no extra cost to you. I only recommend products I’d genuinely be comfortable recommending to friends and family.
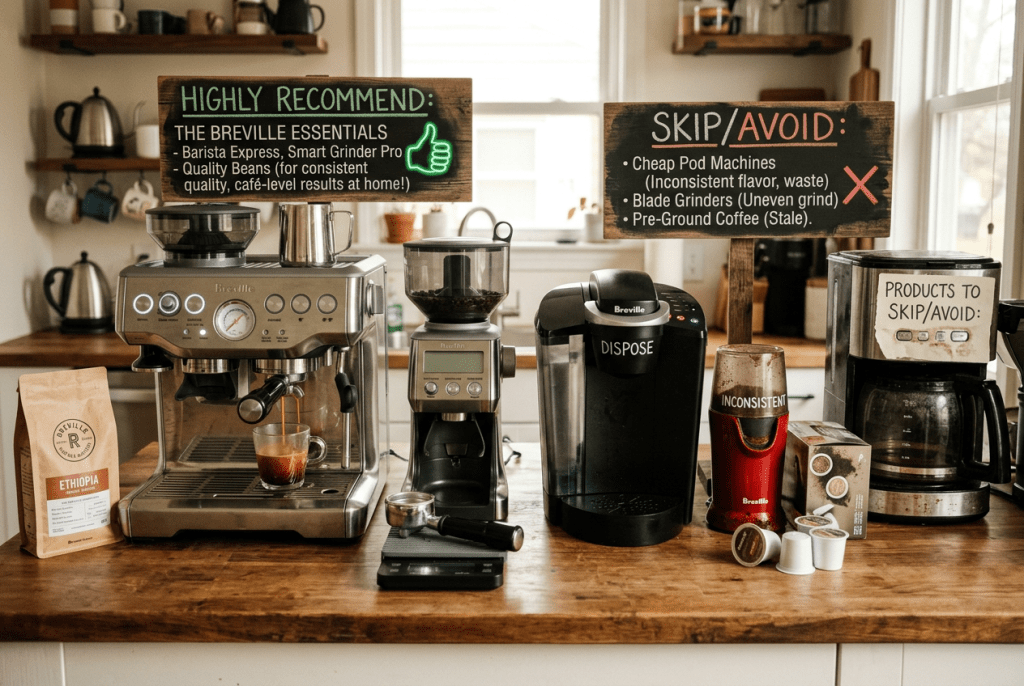
There’s a Lot of Bad Advice Out There…
Spend five minutes searching “coffee gadgets” on Amazon and you’ll be convinced you need dozens of accessories before you can make a decent latte.
A fancy tamper.
A knock box.
A distribution tool.
A special espresso cup.
A coffee station organizer.
A latte art pen.
Before you know it, you’ve spent hundreds of dollars—and your coffee barely tastes any better.
I’ve learned that the best home coffee setup isn’t about owning the most gadgets. It’s about buying the right ones.
Some upgrades genuinely improve your coffee every single morning. Others look great in photos but end up collecting dust in a kitchen drawer.
If I were helping a friend build a home coffee bar today, these are the products I’d recommend first, the ones I’d wait to buy, and the ones I don’t think are worth rushing out to purchase.
The goal isn’t to spend more money.
It’s to spend your money once—on products you’ll actually enjoy using every morning.
Let’s start with the piece of equipment that completely changed my home coffee experience.
Worth Every Penny
1. Breville Barista Express
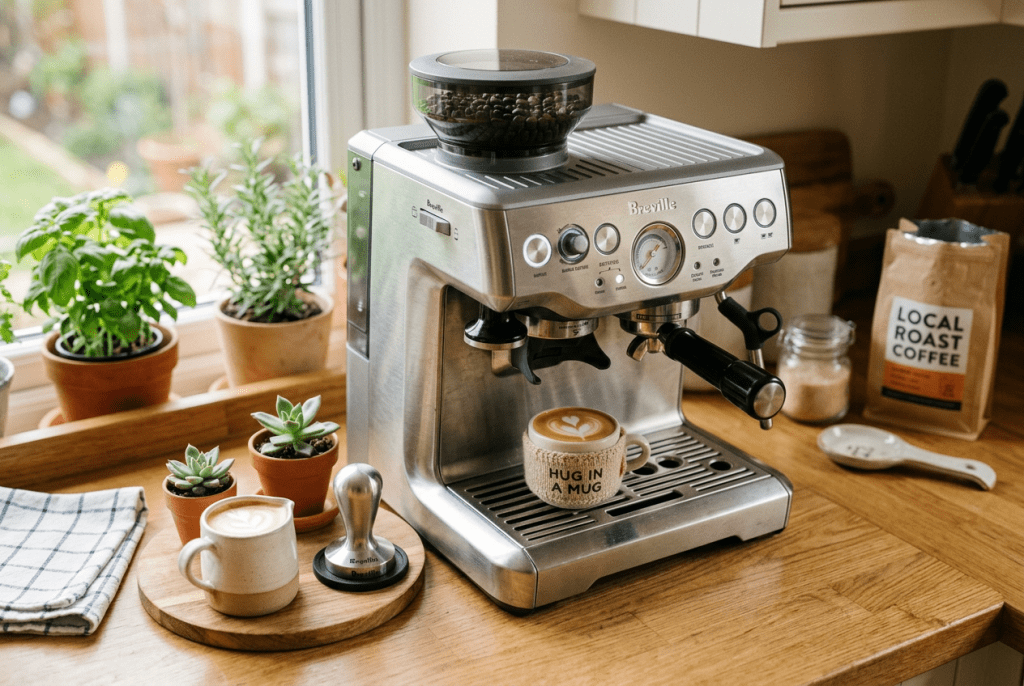
If I could only recommend one product to someone who wants café-style drinks at home, it would be the Breville Barista Express. It’s consistently one of the most popular home espresso machines because it combines an espresso machine and burr grinder into one setup, making it much easier for beginners to learn while still offering enough control to grow your skills.
What I love:
- Built-in burr grinder saves counter space.
- Powerful steam wand for silky milk.
- Lets you make espresso, lattes, cappuccinos, americanos, and iced drinks.
- Great balance of ease of use and customization.
- Looks fantastic as the centerpiece of a coffee bar.
Who it’s for:
- Someone who wants to make coffee at home several times a week.
- Anyone looking to replace frequent coffee shop visits with café-style drinks.
Who should wait:
- If you only drink coffee once or twice a week, you may be happier starting with a less expensive brewer and upgrading later.
Yes, it’s one of the bigger investments on this list—but it’s also the product that has the biggest impact on the quality of your coffee. If I had to start over tomorrow, this would still be my first purchase.
2. Baratza Encore ESP Coffee Grinder
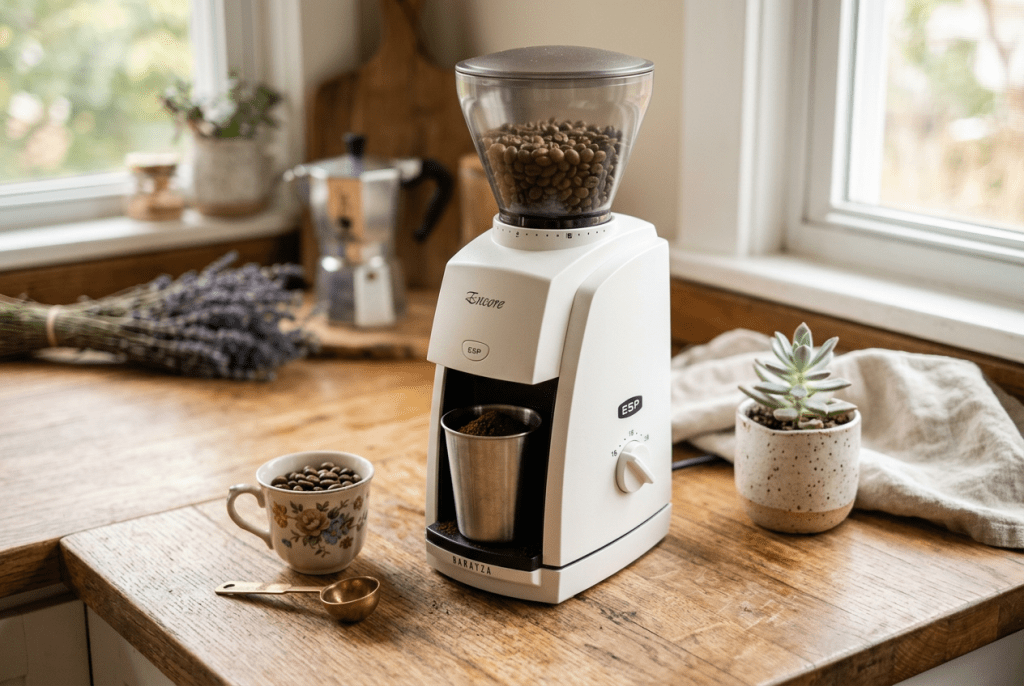
If there’s one thing I’ve learned about making espresso at home, it’s this:
Fresh coffee beans are important—but how you grind them is just as important.
You can have amazing beans and a great espresso machine, but if your grinder produces inconsistent coffee grounds, you’ll end up chasing your tail trying to figure out why one shot tastes amazing and the next tastes terrible.
That’s why the Baratza Encore ESP has become one of the easiest recommendations for someone looking to level up their coffee game.
Why I Love It
- Built specifically with espresso in mind while still handling drip coffee, pour-over, and French press.
- Precise grind adjustments make dialing in espresso much easier.
- Consistent burr grinding helps produce more even extractions.
- Compact footprint that fits nicely on a home coffee bar.
- Built by a company known for making grinders that are designed to be repaired instead of replaced.
Who I Think It’s Perfect For
If you’re buying your first dedicated coffee grinder, I honestly think this is one of the smartest places to spend your money.
It’s beginner-friendly enough that you won’t feel overwhelmed, but it also gives you enough precision that you won’t outgrow it after a few months.
Whether you’re pulling espresso shots on Saturday morning or making a pour-over before work, it has the flexibility to handle both.
Who Should Skip It
If your espresso machine already includes a quality burr grinder—like the Breville Barista Express—you probably don’t need to rush out and buy a separate grinder on day one.
I’d put that money toward fresh beans, a quality scale, or other accessories first.
However, if you plan on upgrading your setup in the future or want more control over your espresso, this would be near the top of my wishlist.
My Final Thoughts
One thing that surprised me while learning more about home coffee is how often experienced baristas talk about the grinder before they talk about the espresso machine.
After seeing the difference a consistent grind can make, I completely understand why.
If I were building a coffee bar from scratch today, this is absolutely one of the first upgrades I’d consider because it’s something you’ll use every single morning.
3. Veken 39 oz Airtight Coffee Canister
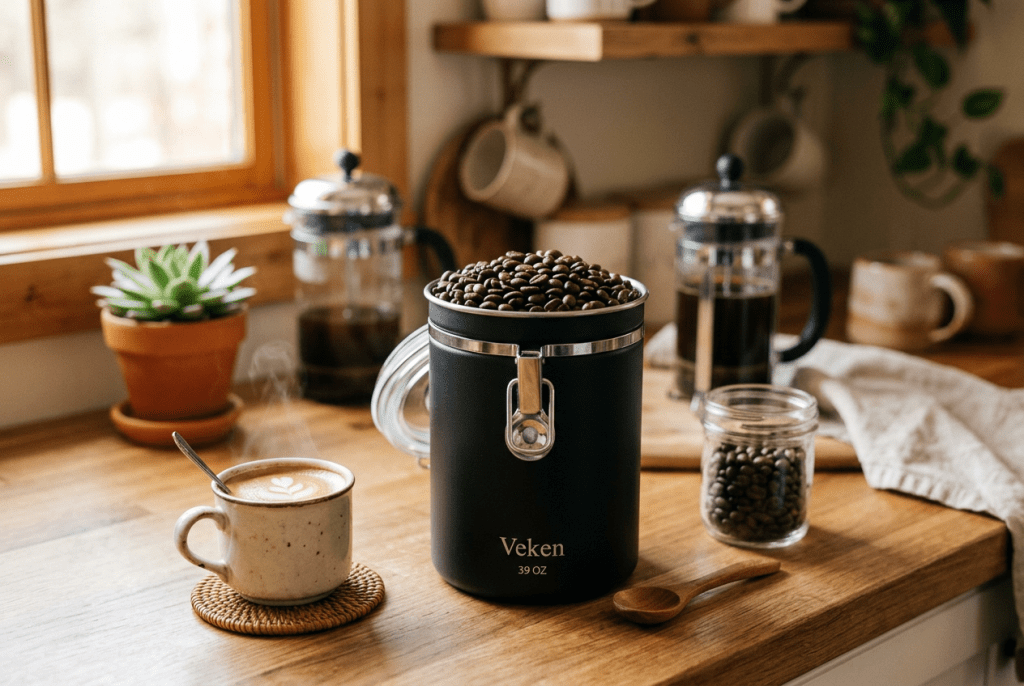
This is one of those coffee accessories that I didn’t think would make much of a difference until I started paying attention to how I was storing my beans.
Coffee beans are sensitive to oxygen, moisture, heat, and light, so leaving an opened bag sitting on the counter isn’t exactly ideal. A good airtight canister is a simple way to give your beans better protection between uses.
Why I Love It
The Veken Coffee Canister, 39 oz, 2.2 lbs, Large Airtight Stainless Steel Container is a particularly good option if you tend to buy larger bags of coffee or like keeping your coffee station organized.
Why I like it:
- Large 39 oz capacity designed for larger quantities of coffee.
- Stainless steel construction gives it a clean look on the counter.
- Airtight silicone seal helps limit exposure to air.
- One-way CO₂ valve allows gases from freshly roasted coffee to escape.
- Built-in date tracker helps you keep track of when you stored your beans.
- Includes a coffee scoop.
- Opaque design helps keep light away from your coffee.
The Veken has also shown up on recent Amazon-focused coffee-canister roundups, including one updated in August 2026 that ranked the 39 oz model as its top pick.
Who It’s For
I’d recommend this to someone who buys coffee beans in larger bags, wants their coffee station to look more organized, or simply wants a better storage solution than rolling up the original bag and hoping the clip holds.
It’s also a nice addition if you’re building a coffee bar where you want everything sitting out to look intentional.
Who Should Skip It
If you buy a small bag of beans every few days and finish them quickly, you probably don’t need a large 39 oz canister.
And if you’re looking for the most premium coffee-storage experience possible, there are more expensive vacuum canisters like the Fellow Atmos that take storage a step further with an integrated vacuum system.
But for a practical home coffee bar, I think the Veken hits a really nice middle ground: useful, attractive, large enough for serious coffee drinkers, and without turning coffee storage into another huge purchase.
My Final Thoughts
This isn’t the kind of product that’s going to suddenly transform a bad espresso shot into a great one.
That’s not what I like about it.
I like it because it’s a small upgrade that protects the money you’re already spending on good coffee beans.
If I’m going to spend money on fresh beans, I want to give them a good place to live.
And honestly, having one sitting next to the grinder looks a whole lot better than having an opened coffee bag crumpled on the counter.
4. Normcore V4 Spring-Loaded Coffee Tamper
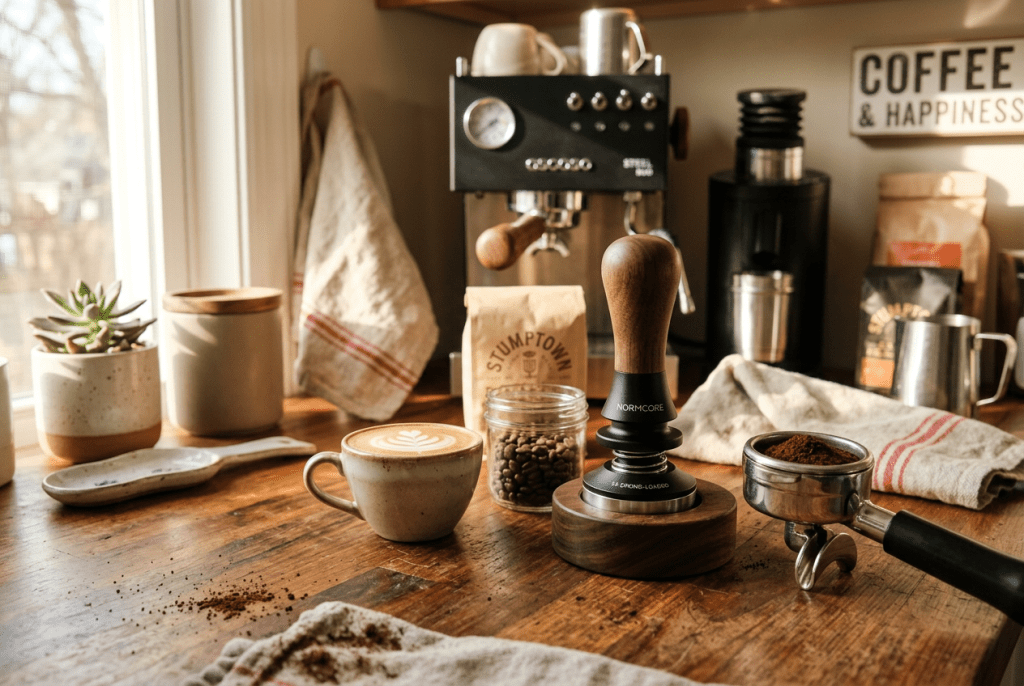
This is where I think coffee accessories start getting really interesting.
A tamper isn’t going to magically turn a bad espresso shot into a great one. Your grinder, coffee dose, and grind size matter much more. But once those things are dialed in, having a tamper that makes the process more consistent can make your morning routine noticeably easier.
That’s why the Normcore V4 Spring-Loaded Coffee Tamper is one of the accessories I’d actually consider adding to a serious home espresso setup.
Why I Love It
The thing that makes the Normcore different from a basic tamper is the spring-loaded design. Instead of relying entirely on how hard you happen to press that morning, the spring helps you apply a more repeatable amount of pressure. The V4 also has a leveling guide that helps keep your tamp flat.
Why I like it:
- Spring-loaded design helps make tamping more repeatable.
- Self-leveling design helps keep the puck flat.
- Comes with interchangeable 15 lb, 25 lb, and 30 lb springs.
- Available in multiple sizes to fit different espresso machines.
- Stainless-steel base and a comfortable handle make it feel much more substantial than a basic stock tamper.
- Comes with a tamper stand.
One thing I really like about this is that it takes some of the guesswork out of puck preparation. You don’t have to obsess over whether you tamped exactly the same way as yesterday. The spring gives you a consistent reference point.
Make Sure You Buy the Right Size
This is really important.
Not every espresso machine uses the same portafilter size.
The Normcore V4 is available in sizes ranging from small specialty-machine sizes up through 58.5 mm. For many Breville machines with 54 mm baskets, the 53.3 mm version is the appropriate size. Standard 58 mm baskets generally use the 58.5 mm version. Always check your machine and basket before ordering.
Who It’s For
I’d recommend this to someone who is starting to take espresso seriously and wants their routine to become more consistent.
It’s especially appealing if you’ve noticed that your shots seem different from one day to the next even though you’re using the same beans and roughly the same dose.
Who Should Skip It
If you’re brand new to espresso, I actually wouldn’t make this one of your first purchases.
If you have $50 to spend and you’re choosing between a nicer tamper and a quality coffee scale, I’d prioritize the scale first. Being able to measure your dose and espresso yield gives you much more useful information when you’re learning to dial in a shot.
I’d also skip upgrading your tamper if your machine’s included tamper already fits your basket well and you’re still figuring out the basics.
My Final Thoughts
This is one of those products that falls into the category of “not necessary, but genuinely nice to have.”
You absolutely can make great espresso without a $40–$50 tamper.
But once you’ve started caring about consistency, the Normcore V4 makes the actual process feel smoother and more repeatable. And for something you’ll use every time you pull an espresso shot, I think that’s a pretty worthwhile upgrade.
One important note: If you’re buying one specifically for a Breville setup, make sure you’re looking at the correct 53.3 mm version rather than automatically buying the popular 58.5 mm model. The wrong size won’t give you the fit you’re looking for.
5. MHW-3BOMBER Coffee Scale
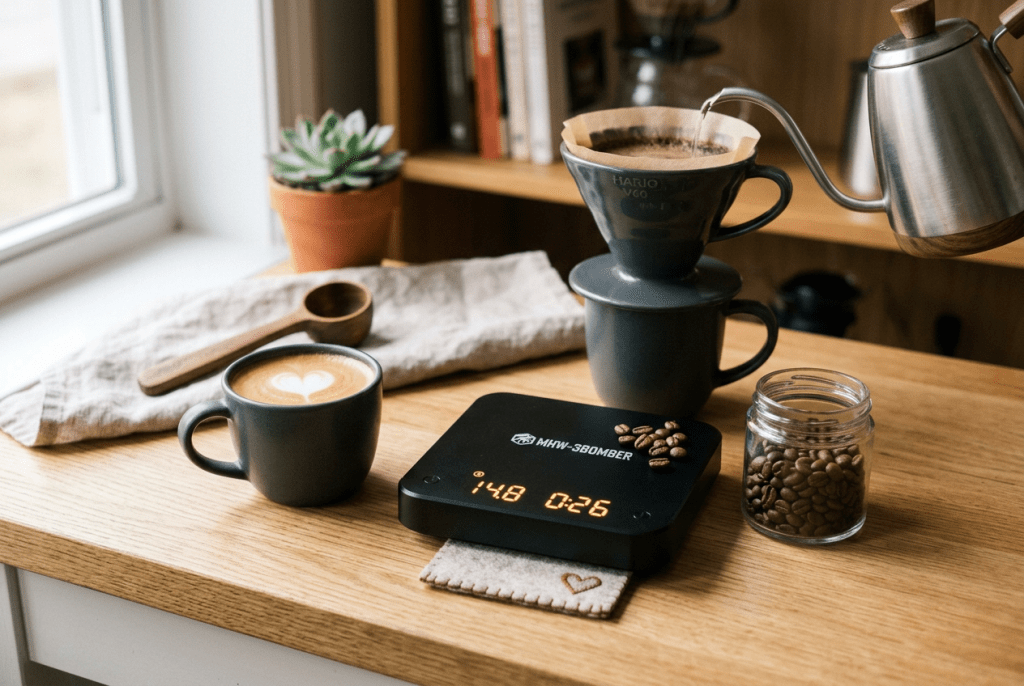
Here’s one coffee accessory I think a lot of beginners skip because, honestly, it doesn’t look very exciting.
A scale.
But once you start trying to make consistently good espresso, measuring your coffee and your espresso output can make the whole process so much easier.
Instead of saying, “I think I used about this much coffee,” or “I think that shot was around the right amount,” you can actually know.
Why I Love It
The MHW-3BOMBER Coffee Scale is designed specifically with coffee brewing in mind. Depending on the model, you can get features like 0.1g precision, espresso and pour-over modes, automatic timing, and brew-ratio information.
Why I like it:
- Measures in precise 0.1g increments.
- Built-in timer helps you track espresso extraction time.
- Espresso mode is designed specifically for pulling shots.
- Can also be used for pour-over and other brewing methods.
- Compact enough to fit underneath most espresso machines.
- Rechargeable instead of relying on disposable batteries.
- Gives you actual numbers to work with when you’re dialing in coffee.
One of the biggest things I learned about espresso is that consistency comes from controlling variables.
If you use 18 grams of coffee one morning and 20 grams the next, then pull a different amount of espresso each time, it’s really difficult to figure out why one drink tastes better than another.
A scale takes some of that guesswork away.
Who It’s For
I’d recommend a coffee scale to anyone who wants to get better at espresso, especially if you’re starting to experiment with different beans and grind settings.
It’s also a great option if you’re someone who likes the idea of making your coffee more like a little science experiment. You can start keeping track of things like:
Coffee dose → extraction time → espresso yield → taste
Once you start recording those numbers, dialing in a new bag of beans becomes much less random.
Who Should Skip It
If you’re perfectly happy making coffee casually and don’t care about measuring your shots, you probably don’t need one.
And if you’re still in the very beginning stages, I wouldn’t say you need to buy the most expensive coffee scale available. There are plenty of reasonably priced options that give you the basic features you actually need.
That’s one reason I like the MHW-3BOMBER. You can get useful espresso-focused features without jumping straight into the premium-price category. Current models include options around the $49–$60 range depending on the version.
My Final Thoughts
This is definitely not the most exciting-looking purchase on your coffee bar.
But it’s one of those accessories that can make everything else you already bought work better.
Your espresso machine can be expensive. Your grinder can be amazing. Your beans can be incredible.
But if you don’t know how much coffee you’re putting in or how much espresso you’re getting out, you’re making it much harder to repeat a great shot.
For me, that’s what makes a scale worth the counter space.
It’s not about making coffee unnecessarily complicated.
It’s about making it repeatable.
6. A Good Milk Pitcher: The Secret to Better Lattes
If you love lattes, cappuccinos, or flat whites, I think a good milk pitcher is one of the easiest inexpensive upgrades you can make.
You can have a great espresso machine and beautiful espresso, but if your milk is full of huge bubbles or you can’t control the pour, the finished drink just isn’t going to feel like the one you get at a coffee shop.
And surprisingly, the pitcher itself actually matters.
My Pick: Rattleware 12 oz Latte Art Pitcher
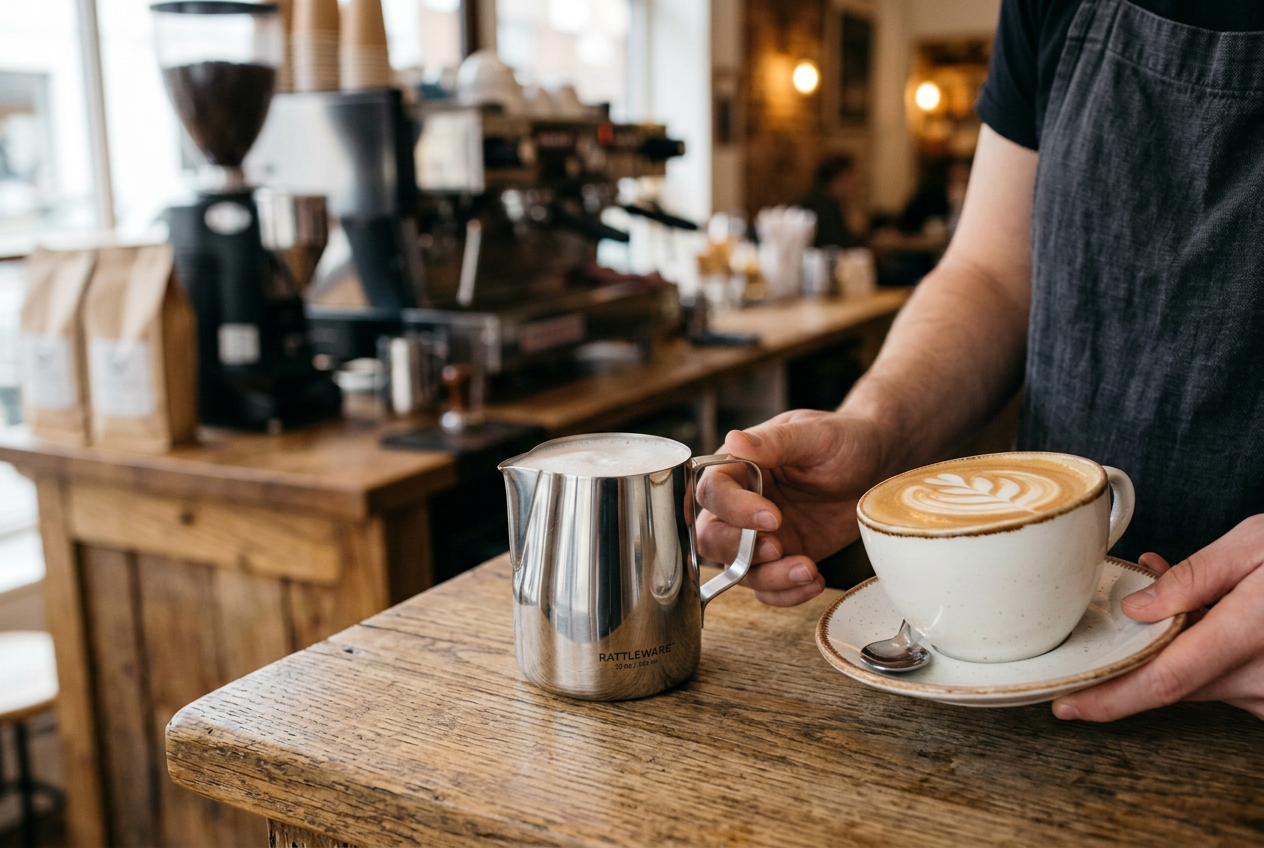
Product: Rattleware 12 oz Latte Art Milk Pitcher
The Rattleware 12 oz pitcher is a great size for making one latte or cappuccino at a time. A 12 oz pitcher gives you enough milk to create a proper vortex while steaming without forcing you to work with a huge amount of milk. Its pointed spout also gives you much better control when you’re ready to start experimenting with latte art.
Why I like it:
- 12 oz size works well for single drinks.
- Stainless steel construction is durable and easy to clean.
- The spout gives you more control when pouring.
- Small enough to work well with a home espresso machine.
- Affordable enough that upgrading doesn’t feel like a huge commitment.
Why the Size Actually Matters
This is something I didn’t really understand when I first started making espresso at home.
Bigger isn’t always better.
If you’re making one latte, you don’t necessarily want a massive 32 oz pitcher. A pitcher that’s too large can make it harder to create the proper whirlpool needed to texture milk well. For a typical single latte, a 12 oz pitcher is a great place to start; larger 20 oz pitchers make more sense if you’re making larger drinks or multiple drinks at once.
Who It’s For
If you regularly make lattes or cappuccinos, I’d absolutely consider this a worthwhile purchase.
It’s especially useful if you’re trying to learn microfoam and eventually want to experiment with latte art. The right spout gives you much more control over the stream of milk, which makes learning hearts, tulips, and other designs much easier.
Who Should Skip It
If you almost exclusively drink black coffee, Americanos, or straight espresso, there’s really no reason to buy a dedicated milk pitcher.
And if your espresso machine already came with a perfectly good stainless-steel pitcher, I’d use that one first.
You don’t need to own five different milk pitchers.
The Part That Actually Matters
The pitcher isn’t going to magically make perfect milk.
The technique still matters.
You need to introduce the right amount of air, create a whirlpool, and stop steaming before the milk gets too hot. But having a pitcher that’s appropriately sized and gives you good control makes learning those techniques much easier.
And once you finally get that silky, glossy microfoam instead of a cup full of giant bubbles, you’ll understand why people get so obsessed with making lattes at home.
My Final Thoughts
This is one of my favorite examples of a small purchase that can make the rest of your expensive equipment more enjoyable.
I wouldn’t spend $50–$100 on a fancy pitcher just because it looks cool. There are excellent options at much lower prices.
For a beginner home barista, I’d rather spend the money on a good grinder, fresh beans, or a scale first—and then add a quality 12 oz pitcher once you’re ready to focus on milk drinks.
Because when you get it right, that morning latte starts looking—and tasting—a whole lot more like something you’d pay $6+ for at a coffee shop.
7. Normcore WDT Tool: The Little Tool That Actually Has a Job
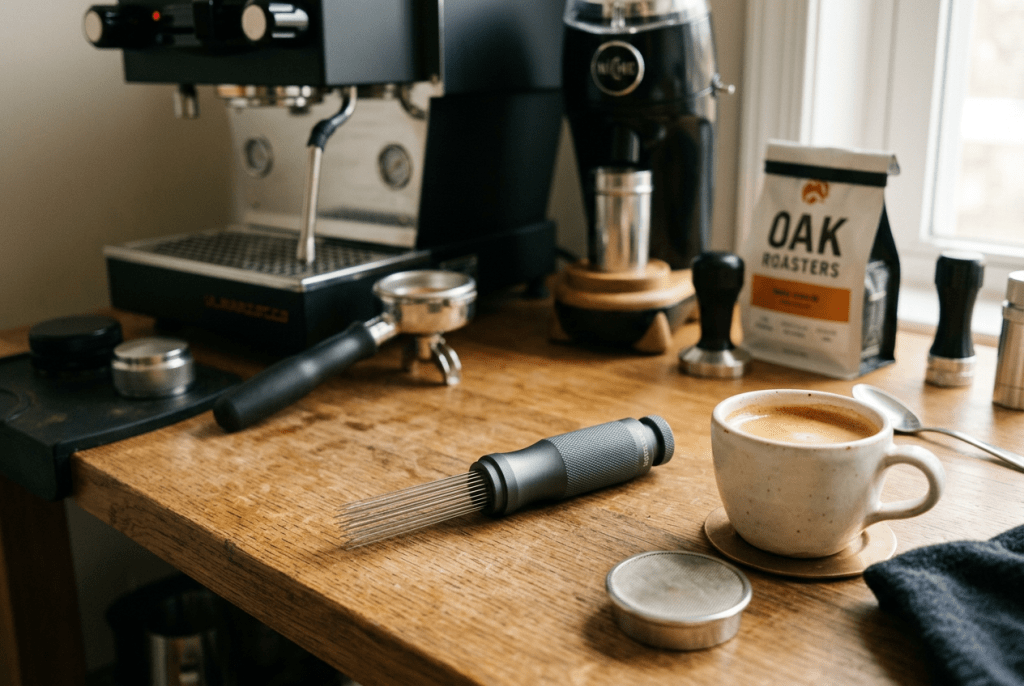
I’ll be honest: when I first started looking at espresso accessories, a WDT tool was one of the products that made me think, “Do I really need that?”
It looks like a tiny rake for coffee grounds.
But there’s actually a reason baristas use them.
WDT stands for Weiss Distribution Technique, and the idea is pretty simple: you use very fine needles to gently stir freshly ground coffee in the portafilter, breaking up clumps and helping distribute the grounds more evenly before tamping. That can help reduce uneven extraction and channeling.
My Pick: Normcore WDT Distribution Tool V3
This is one of those accessories I’d actually consider adding once you’ve gotten the basics of espresso down.
The current V3 uses nine fine needles and comes with a stand, making it easy to keep on your coffee bar instead of throwing it into a drawer. Current 2026 reviews have consistently placed the Normcore among the top WDT options, particularly because of its fine needles and convenient stand.
Why I Like It
- Fine needles help break up clumps in freshly ground coffee.
- Helps distribute grounds before tamping.
- Nine needles give good coverage across the coffee bed.
- Includes a stand to keep the tool upright and protected.
- Small enough that it doesn’t take up much space.
- Relatively inexpensive compared with the espresso equipment you’re using it with.
And this is where I think it can actually make sense to spend a little money on an accessory.
You’re already spending money on good beans, a grinder, an espresso machine, and a scale. If your freshly ground coffee is clumping together before you tamp it, spending around $30 on a tool designed specifically to address that problem isn’t a crazy upgrade. Current 2026 comparisons put the Normcore WDT V3 around the low-$30 range, although prices change.
Who It’s For
I’d recommend a WDT tool if you’ve started experimenting with espresso and you’re noticing inconsistent shots, channeling, or coffee grounds that come out of the grinder in obvious clumps.
It’s also a fun upgrade if you’ve already learned the basics and want to start paying more attention to puck preparation.
Who Should Skip It
Here’s where I’m going to save you some money:
You don’t need this on day one.
If you’re brand new to espresso and you’re trying to decide between a WDT tool and a quality grinder, buy the grinder.
If you’re deciding between a WDT tool and a scale, I’d buy the scale.
And if your shots are still wildly inconsistent because your grind size, dose, or extraction aren’t dialed in yet, I’d work on those fundamentals before adding another accessory.
A WDT tool is a refinement—not a substitute for learning how to make espresso.
Don’t Go Overboard
There are now some incredibly elaborate WDT tools on the market, including rotating and planetary designs that can cost close to $100. They’re certainly interesting, but I don’t think most home baristas need to spend that much. Current comparisons put simple Normcore and MHW-3BOMBER tools around $20–$35, while premium planetary versions can approach $100.
That’s exactly why I like the simpler option.
Do the job well. Don’t make it unnecessarily complicated.
My Final Thoughts
This is one of those products that falls right in the middle of my list.
It’s not essential.
But once you’re serious about making better espresso, it becomes a pretty inexpensive way to improve your puck-prep routine.
If I were building my coffee setup in order, I’d buy the machine, grinder, and scale first. Then I’d add something like the Normcore WDT tool once I was ready to start fine-tuning my shots.
And honestly, there’s something pretty satisfying about watching a clumpy pile of coffee grounds turn into a perfectly even bed before you tamp it.
It’s a tiny step—but that’s kind of what home espresso is all about.
8. Breville Knock Box: The Boring Purchase You’ll Use Every Day
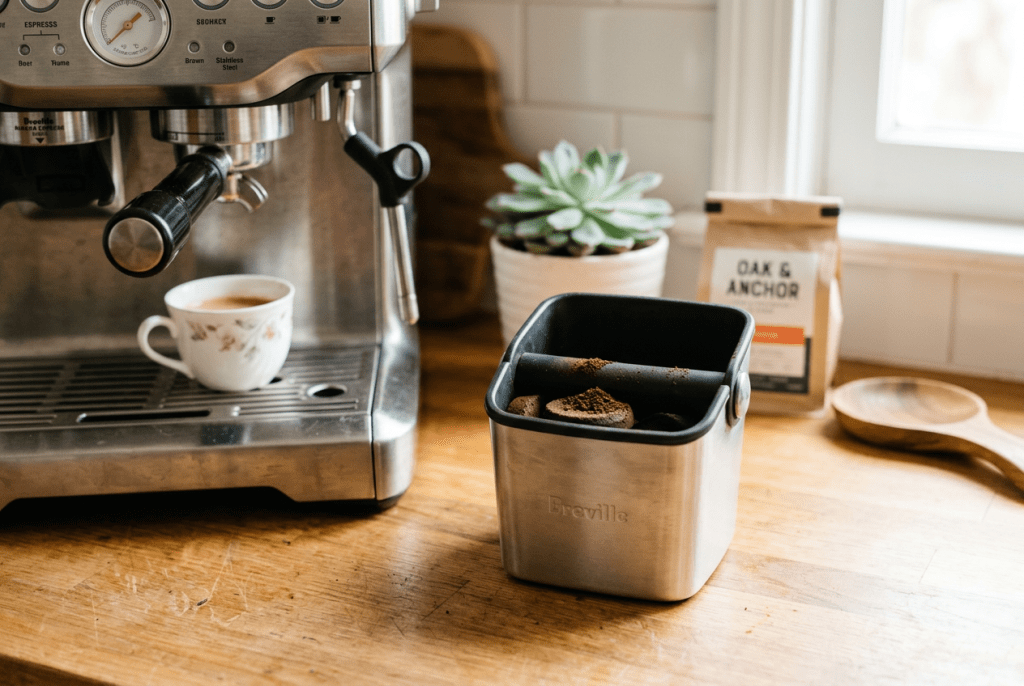
Not every coffee accessory needs to make your espresso taste better.
Some just make your life easier.
And honestly, a knock box is one of those products I didn’t think much about until I started making espresso regularly. Once you’re pulling multiple shots a day, you quickly realize that knocking a wet puck of coffee grounds into your trash can or sink is messy, annoying, and eventually just becomes part of the cleanup you dread.
That’s where a knock box comes in.
My Pick: Breville Knock Box 10
The Breville Knock Box 10 is a simple countertop container designed specifically for disposing of spent espresso pucks. It has a padded knock bar, a non-slip base, and a compact design that works nicely alongside a home espresso machine. WIRED’s 2026 espresso-accessory guide also highlighted the Breville Knock Box 10 as a strong option, noting that it had held up well through years of regular use.
Why I Like It
- Makes getting rid of spent espresso pucks quick and easy.
- Padded knock bar helps protect your portafilter.
- Non-slip base keeps it from sliding around the counter.
- Compact enough for a home coffee station.
- Much cleaner than knocking coffee grounds directly into the trash or sink.
- The Breville design looks natural next to other Breville equipment.
And this is one of those products where the convenience adds up.
If you’re making one espresso every few days, you probably won’t care.
But if you’re making a latte every morning, an afternoon iced coffee, and maybe another drink later? You’re going to use this thing constantly.
Who It’s For
I’d recommend a knock box to anyone making espresso regularly.
It’s especially worthwhile if your espresso machine lives permanently on your counter and you’re building an actual coffee station rather than pulling the machine out of a cabinet once in a while.
It’s also one of those little upgrades that makes your entire setup feel more intentional. Instead of having a trash can beside your espresso machine with coffee grounds scattered around it, everything has its place.
Who Should Skip It
If you’re extremely limited on counter space, you can absolutely live without one.
You can knock your puck into a small container, compost bin, or trash can. There’s nothing magical about a dedicated knock box.
And if you’re only making espresso occasionally, I’d spend your money elsewhere first.
This is a workflow upgrade, not a coffee-quality upgrade.
My Final Thoughts
This might be the least exciting product I’ve recommended so far.
But that’s actually why I like it.
A coffee setup doesn’t have to be filled with flashy gadgets. Sometimes the best purchases are the ones that solve a tiny annoyance you experience every single morning.
For me, a knock box falls firmly into the “I’d buy it again” category.
It keeps the mess contained, makes cleanup faster, and gives your coffee station one more dedicated place for everything.
And once you start using one, you’ll probably wonder why you were ever knocking espresso pucks into the trash can in the first place.
My verdict: Worth buying if you make espresso regularly. Skip it if you’re an occasional espresso drinker or desperately short on counter space.
9. Barista Basics Triple Spout Shot Glass
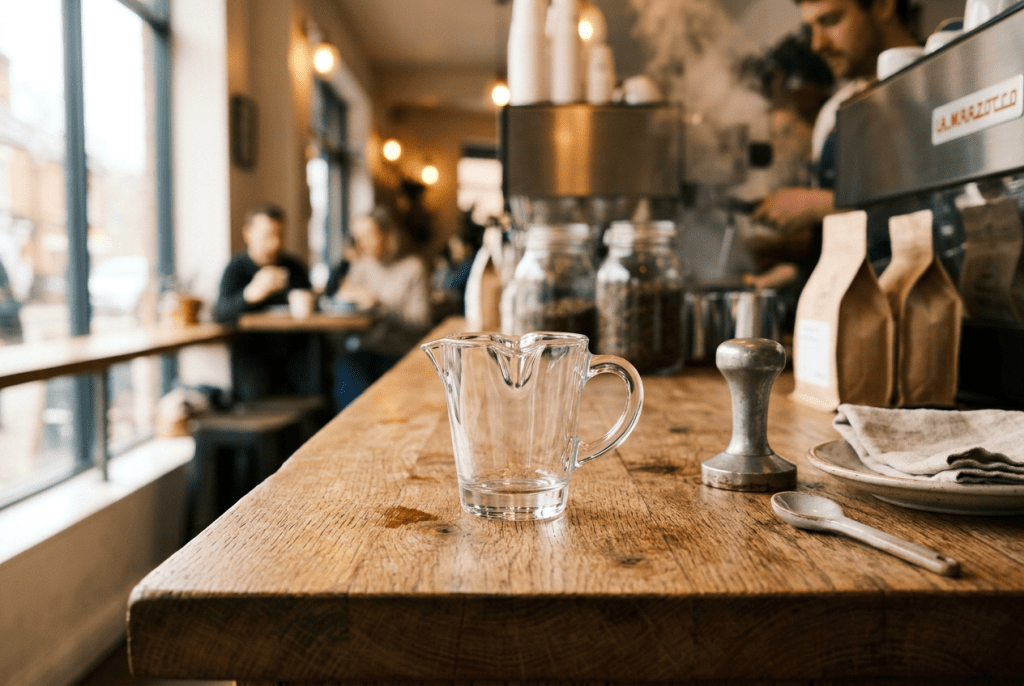
This is one of those products that looks almost too simple to deserve a spot on a coffee setup.
It’s literally a little glass.
But if you’re learning espresso, I actually think a good shot glass is one of the easiest inexpensive additions you can make.
Why I Like It
The Barista Basics Triple Spout Shot Glass is designed specifically for espresso and has measurement markings that let you see how much liquid you’re getting from your shot. WIRED’s 2026 home-barista guide also recommends this style of durable, graduated shot glass as a practical accessory for dialing in espresso.
Why I like it:
- Measurement markings make it easy to see your espresso yield.
- Multiple spouts make pouring into a cup simple.
- Thick glass is designed for regular coffee-shop-style use.
- Small enough to leave next to your espresso machine.
- Inexpensive compared with most espresso accessories.
Why Would I Need One If I Have a Scale?
You don’t necessarily need both.
A scale is much more precise, and if you’re serious about dialing in espresso, I’d absolutely prioritize the scale.
But there’s something really convenient about being able to watch your espresso come out of the portafilter and immediately see roughly how much you’ve extracted.
I especially like using a shot glass while I’m learning a new bag of beans. It gives me a visual reference while I’m adjusting my grind, dose, and extraction time.
Who It’s For
I’d recommend this to someone who is learning espresso and wants an inexpensive way to actually see what’s happening during a shot.
It’s also great if you’re building a coffee bar and want a small accessory that feels like something you’d see behind the counter at a café.
Who Should Skip It
If you already have a good espresso scale, you probably don’t need to buy a shot glass specifically for measuring.
And if you don’t make espresso, this obviously isn’t going to be particularly useful.
This is another example of a product that I wouldn’t put at the top of your shopping list—but if you’ve already got the basics covered, it’s a fun and inexpensive addition.
My Final Thoughts
I love accessories like this because they don’t pretend to be something they’re not.
It’s not going to make your espresso taste better by itself.
It’s not going to fix a bad grind.
It’s not going to replace a scale.
It simply makes the process of making espresso a little easier to see and understand.
And for a relatively inexpensive accessory, that’s enough for me to give it a spot on the list.
My verdict: Worth adding if you’re learning espresso or want a simple visual way to monitor your shots. Skip it if you already have a scale and don’t care about the extra convenience.
10. Fresh Coffee Beans: Don’t Overcomplicate This Part
We’ve talked about espresso machines, grinders, scales, tampers, WDT tools, and all the little accessories that can make a home coffee bar better.
But there’s one thing that’s easy to overlook:
The coffee itself.
You can have a $1,000 espresso setup sitting on your counter, but if you’re using stale beans that have been sitting open for months, you’re not going to get the drink you’re hoping for.
And honestly, this is one area where I think people sometimes make coffee way more complicated than it needs to be.
What I’d Actually Buy
I wouldn’t tell everyone to go out and buy the most expensive specialty coffee they can find.
I’d start with freshly roasted whole beans from a local coffee roaster and experiment from there.
Look for a roast date rather than simply an expiration date. Freshness matters because coffee gradually loses aroma and flavor after roasting, and grinding the beans exposes even more surface area to oxygen.
This is also where having a good grinder becomes so important. If you’re buying whole beans and grinding them immediately before brewing, you’re giving yourself a much better starting point than buying pre-ground coffee and letting it sit around.
Why I Love Buying Local Beans
One of my favorite parts of getting more into coffee has actually been trying beans from local roasters.
You can walk into a local coffee shop, ask what they’re currently brewing, and take a bag home to experiment with.
It’s also a fun way to support a local business while still enjoying the convenience of making coffee at home.
And don’t feel like you need to understand every word on the bag.
Washed. Natural. Honey. Ethiopian. Colombian. Chocolate notes. Citrus notes.
It can all feel like a different language at first.
Start with flavors you already know you like.
If you love chocolatey, nutty coffee, look for those descriptions. If you prefer something brighter and fruitier, try something with citrus or berry notes.
Then experiment.
That’s half the fun.
Who It’s For
Everyone who drinks coffee.
Seriously.
This is probably the easiest “upgrade” on the entire list because you don’t need to buy another gadget.
You just need better beans.
And if you’re already buying specialty coffee, you may find that spending $18–$25 on a fresh bag of beans can make a much bigger difference in your morning cup than spending another $50 on a coffee accessory.
Who Should Skip the Fancy Stuff
Don’t feel pressured to buy $30+ bags of specialty coffee just because you’re building a nice coffee bar.
If you find a $15 bag that you genuinely love, buy the $15 bag.
Coffee is supposed to be enjoyable, not stressful.
I’d also avoid buying huge quantities unless you know you’ll go through them quickly. Freshness is more useful than having a giant collection of beans sitting in your cabinet.
My Final Thoughts
If I had to choose between buying another coffee gadget and buying a fresh bag of beans, I’d probably choose the beans.
Because at the end of the day, that’s what all of this equipment is helping you make.
A great grinder helps you grind them.
A scale helps you measure them.
A tamper helps you prepare them.
A good espresso machine extracts them.
And then you get to drink them.
You don’t need the fanciest coffee in the world. You just need coffee you actually love.
And if you’re building a home coffee bar, I think that’s the perfect place to start.
5 Coffee Products I’d Skip (At Least for Now)
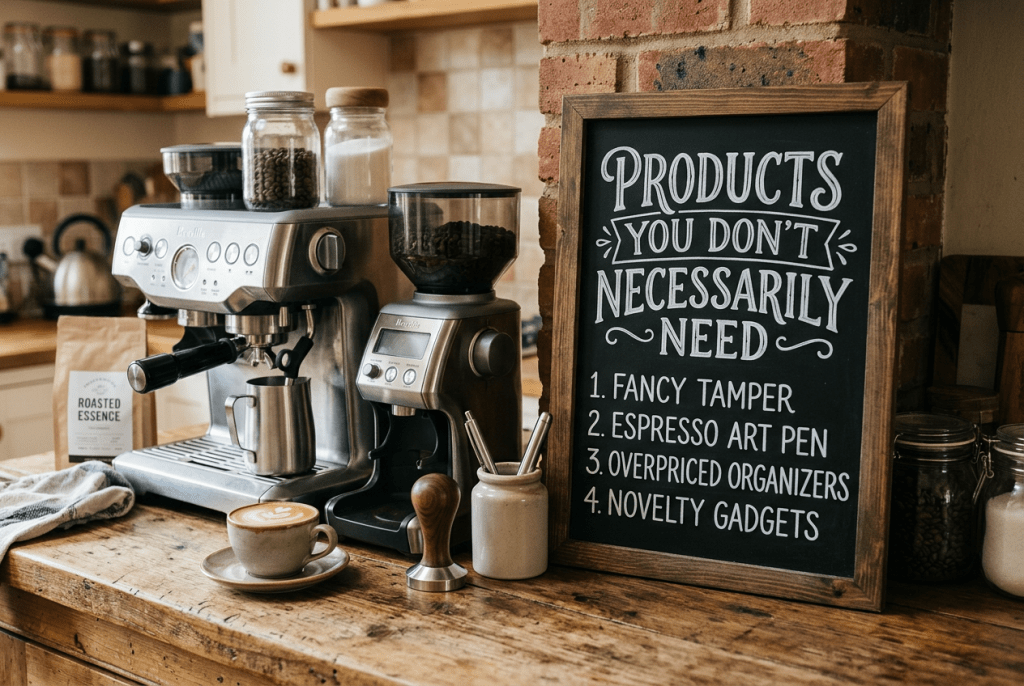
Not every coffee gadget deserves a spot on your counter. Some are useful, but they’re simply not where I’d spend my money first.
1. Automatic Tamping Machines
Why I’d skip: They’re convenient, but most beginners are better off learning to dose, distribute, and tamp themselves. Put that money toward a better grinder or fresh beans instead.
Verdict: Skip for beginners | Useful for high-volume setups
2. Fancy Latte Art Tools
Why I’d skip: A $30 latte-art pen isn’t going to teach you how to steam milk properly. Learning your steam wand and practicing your pour will get you much further.
Verdict: Skip until you have your milk technique down
3. Overpriced Coffee Organizers
Why I’d skip: Beautiful acrylic drawers and elaborate coffee stations look great online, but they don’t make your coffee better. Start with a simple tray or whatever storage you already have.
Verdict: Nice to have | Not a priority
4. Novelty Coffee Gadgets
Why I’d skip: There are endless Amazon gadgets designed to make your coffee routine “easier” or more fun. Some are clever, but many solve problems that don’t really exist.
Before buying, ask yourself: Will I actually use this every morning?
If the answer is no, save the money.
Verdict: Skip the impulse purchase
5. Buying Every Espresso Accessory at Once
Why I’d skip: This might actually be the biggest mistake of all.
You don’t need a WDT tool, fancy tamper, distribution tool, knock box, dosing funnel, puck screen, special cups, and six other gadgets on day one.
Start with the essentials.
Espresso machine → grinder → beans → scale → learn the basics.
Then add accessories when you actually discover a problem they can solve.
Verdict: Save your money and build your setup slowly.
The Bottom Line
The best coffee setup isn’t the one with the most stuff.
It’s the one where every product has a purpose.
I’d rather have five things I use every morning than twenty gadgets collecting dust in a cabinet.
That’s why the next section is the most important one: the exact setup I’d build if I were starting over today.
My Complete Home Coffee Setup
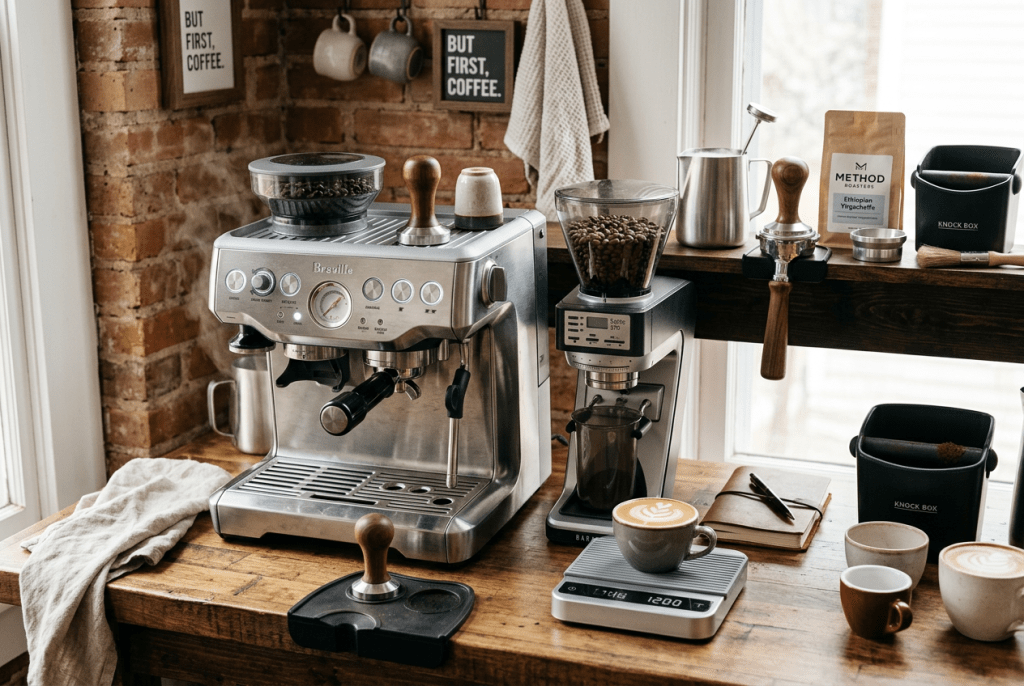
If I were starting my home coffee bar from scratch today, this is where I’d put my money.
I wouldn’t buy everything at once. I’d start with the essentials, then add the upgrades as I got more serious about making coffee at home.
Here’s my exact setup:
Espresso Machine
My #1 Pick
This is the centerpiece of my setup. It combines an espresso machine and built-in burr grinder, has a powerful steam wand, and gives you enough control to actually learn espresso instead of just pressing a button.
Grinder
Baratza Encore ESP Coffee Grinder — ZCG495BLK
Best Grinder Upgrade
If you’re serious about espresso, the grinder deserves attention. The Encore ESP gives you much more control over grind size and is a great option if you eventually want to separate your grinder from your espresso machine.
Coffee Storage
Veken Coffee Canister — 39 oz / 2.2 lb
Best Simple Storage
An airtight canister keeps your beans organized and protected while also making your coffee bar look much cleaner. The large size is especially convenient if you buy larger bags of beans.
Tamper
Normcore V4 Spring-Loaded Coffee Tamper
Best Upgrade
Not something I’d rush to buy on day one, but once you’re getting serious about espresso, the spring-loaded design makes tamping more repeatable.
Coffee Scale
Best Learning Tool
This is one of the accessories I’d recommend earlier than most people expect. Measuring your dose, extraction time, and espresso yield makes dialing in coffee much less of a guessing game.
Milk Pitcher
Rattleware 12 oz Latte Art Pitcher
Best for Latte Lovers
If you love lattes, a properly sized pitcher makes learning to steam and pour milk much easier. You don’t need an expensive pitcher—just one with a good shape and spout.
WDT Tool
Normcore WDT Distribution Tool V3
Best Espresso Upgrade
A WDT tool helps break up clumps and distribute your grounds before tamping. It’s an upgrade I’d add after learning the fundamentals, rather than something I’d consider essential on day one.
Knock Box
Best Convenience Upgrade
It doesn’t make your espresso taste better, but it makes the entire workflow cleaner and easier. If you’re making espresso every day, that convenience adds up quickly.
Espresso Shot Glass
Barista Basics Triple Spout Shot Glass
Nice-to-Have
An inexpensive little addition that makes it easy to watch your espresso extraction and see roughly how much you’re getting. Not essential if you already use a scale, but fun to have.
And Then… The Fun Stuff
Once the essentials are covered, this is where I’d have some fun.
Seasonal syrups, cute mugs, iced coffee glasses, trays, coffee-bar décor, and all the little things that make your setup feel like your coffee bar.
For fall, I’m especially into:
Torani Gingerbread, Pumpkin Spice & Toasted Marshmallow Holiday Syrups
Silver Buffalo Peanuts Snoopy Fall Leaf 16 oz Ceramic Mug
Fall Pumpkin 16 oz Glass Cup with Lid & Straw
These aren’t going to make your espresso objectively better—and that’s okay.
Your coffee bar should be functional AND fun.
⭐ If I Had to Start With Only 5 Things…
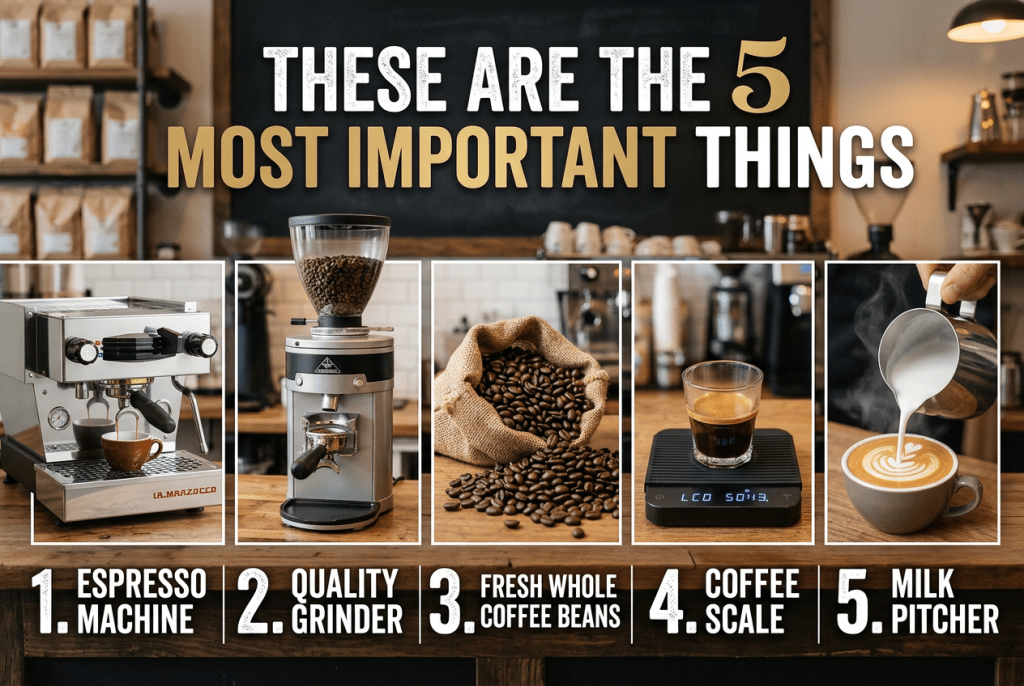
If this entire list feels overwhelming, don’t buy everything.
I’d start with:
1. Espresso machine
2. Quality grinder
3. Fresh whole coffee beans
4. Coffee scale
5. Milk pitcher
Everything else can come later.
Build your setup slowly. Learn what you actually use. And most importantly, don’t let the internet convince you that you need 27 coffee gadgets to make a good latte.
You don’t.
You just need the right setup for you.
How Much Does a Home Coffee Setup Actually Cost?
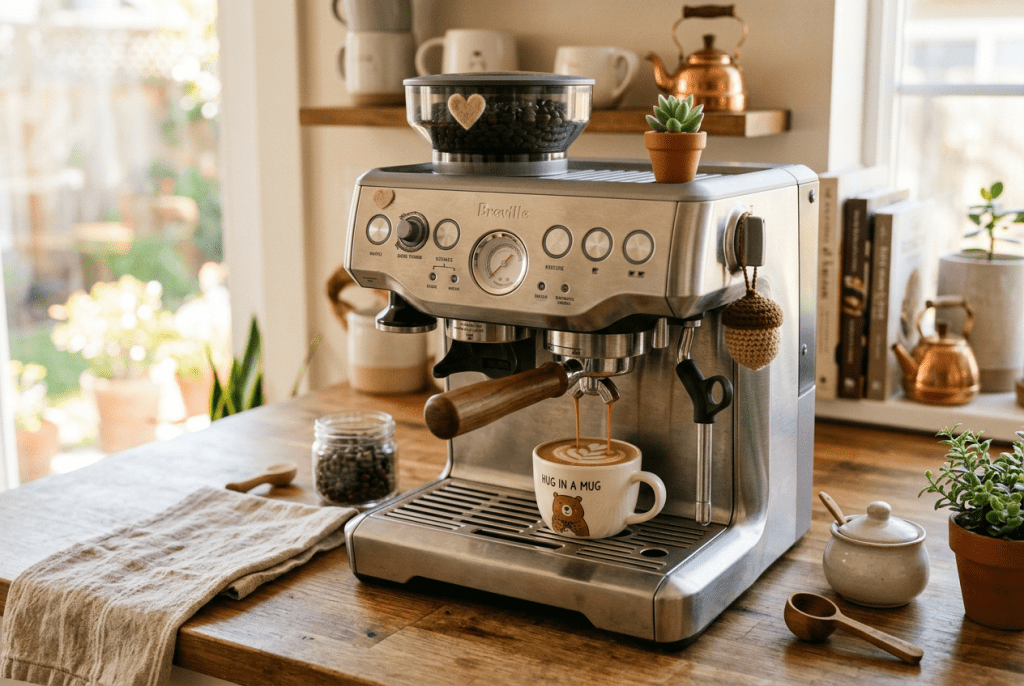
One of the biggest misconceptions about making coffee at home is that you need to spend a fortune to get started.
You don’t.
You can build a simple setup for a couple hundred dollars, or you can turn your coffee bar into a serious hobby and spend well over $1,000. There’s no right answer.
Starter Setup: ~$100–$250
Perfect if you’re just trying to stop spending $6–$8 at coffee shops every morning.
Focus on:
- A simple coffee maker or entry-level espresso machine
- Fresh whole beans
- A decent grinder
- Basic milk frother
- A mug you love
You don’t need a dedicated WDT tool, expensive tamper, fancy scale, or elaborate storage system yet.
Intermediate Setup: ~$300–$600
This is where I’d personally recommend spending money if you know you’re going to make coffee at home regularly.
You can start investing in:
- Better espresso equipment
- A dedicated burr grinder
- Coffee scale
- Quality milk pitcher
- Airtight coffee storage
- A few accessories that improve your workflow
This is the sweet spot where your coffee can start feeling genuinely café-quality without turning your kitchen into a professional coffee shop.
Serious Home Coffee Bar: $700+
This is where things can get dangerous.
You can upgrade virtually everything—espresso machine, grinder, scale, accessories, beans, storage, glassware, and even the coffee-bar furniture itself.
But here’s my advice:
Don’t start here.
Buy something. Learn it. Figure out what you actually want to improve. Then upgrade.
The best coffee setup isn’t the most expensive one.
It’s the one you actually enjoy using.
How Much Money Could You Actually Save?
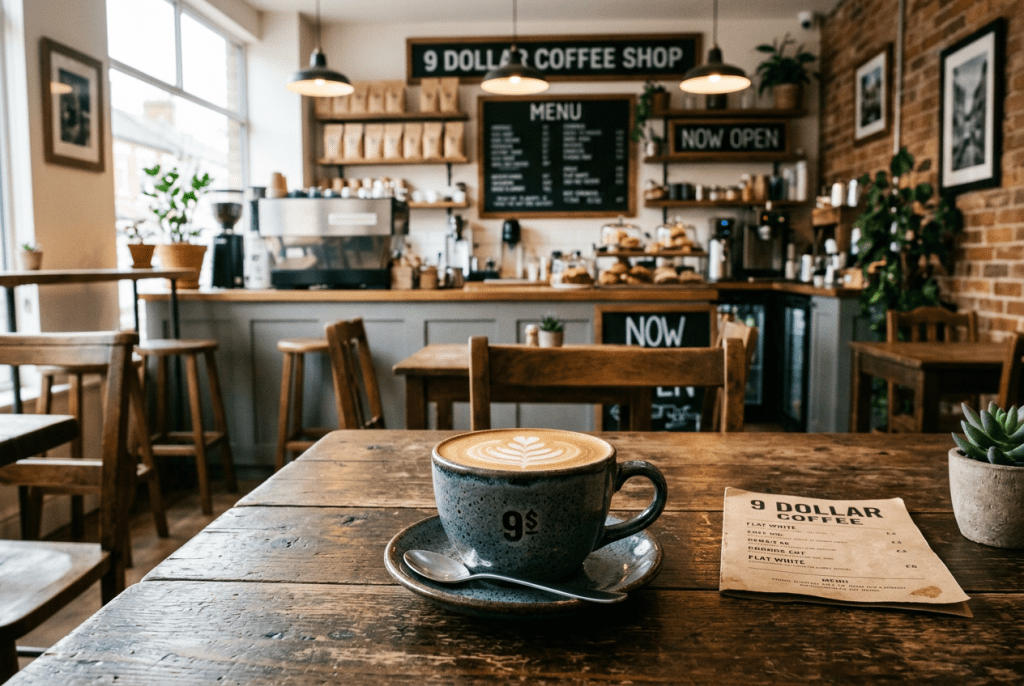
This is one of the reasons I became so interested in making coffee at home in the first place.
Let’s say you buy one $6.50 coffee every weekday.
That’s:
$32.50 per week
~$130 per month
~$1,690 per year
And that’s assuming you only buy one coffee on weekdays.
If you regularly buy a second drink, add breakfast, tip, or grab coffee on weekends, the number can climb quickly.
Making coffee at home isn’t free, obviously. You’re buying beans, milk, syrups, and equipment.
But once you already own the equipment, the cost of each individual drink can be dramatically lower than buying one at a coffee shop.
And there’s another benefit I didn’t expect:
You get better at making the coffee.
Instead of simply handing someone money for a latte, you’re learning how to grind beans, dial in espresso, steam milk, experiment with recipes, and eventually make exactly what you like.
That’s a pretty good trade.
The Best Coffee Bar Is the One You’ll Actually Use
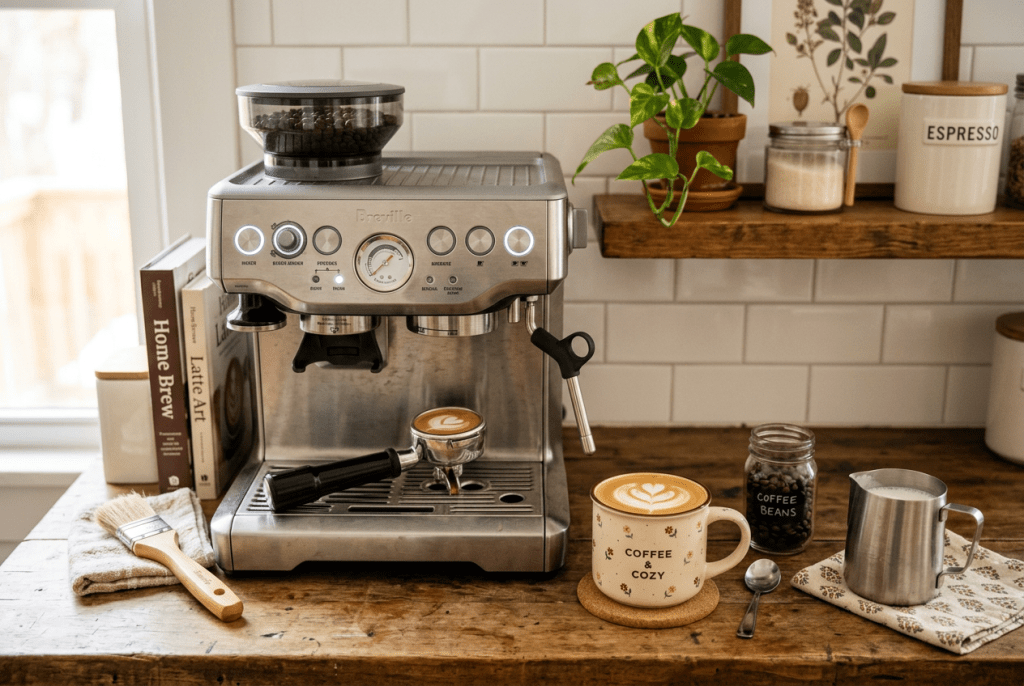
At the end of all of this, I don’t think there’s a single “perfect” coffee setup.
Maybe you want a $1,000 espresso machine and a grinder that costs almost as much.
Maybe you want a $100 setup that makes your morning coffee better.
Maybe you’re somewhere in between.
The goal isn’t to recreate Starbucks in your kitchen.
It’s to create a coffee routine that makes you want to stay home and make your own drink.
Start with the things that actually improve your coffee.
Skip the gadgets that don’t solve a problem.
And then add the fun stuff that makes you excited to walk into your kitchen every morning.
That’s the setup I’d choose.


Leave a Reply